








What Is a Photo Collage?
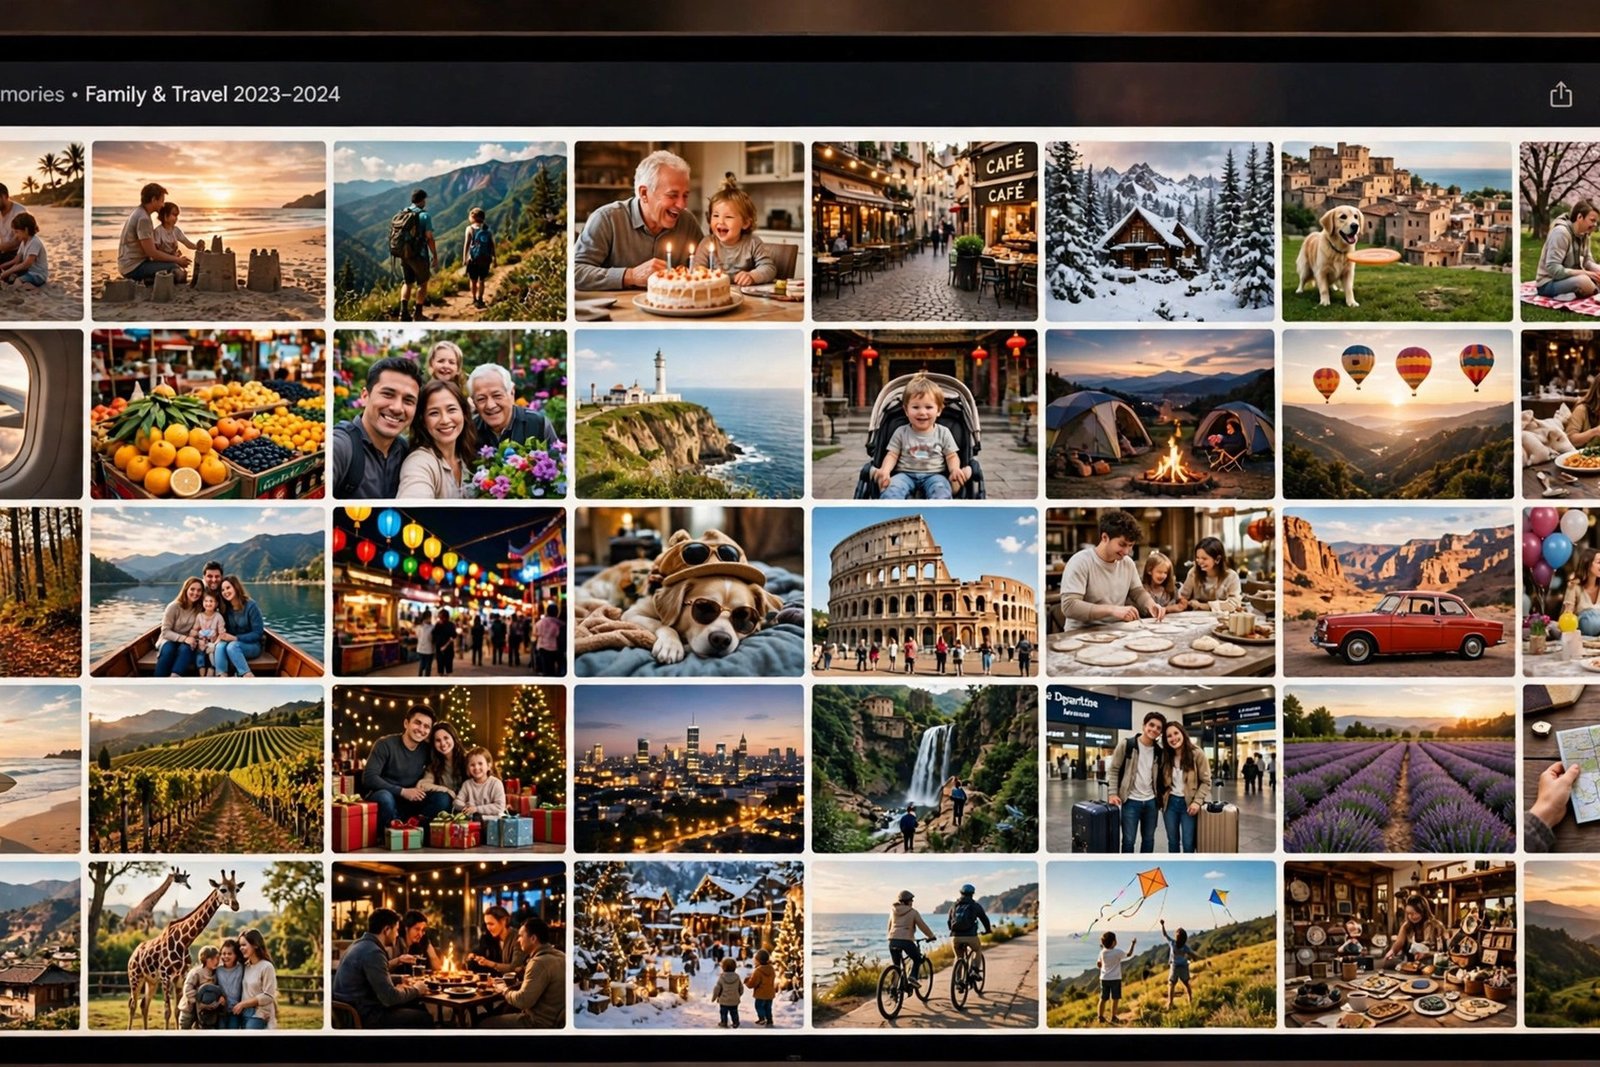
A photo collage is a single design made by combining several photographs into one arrangement. Rather than showing one image on its own, a collage brings a group of related pictures together so that they tell a fuller story. A holiday collage, for example, might show a beach, a meal, a landmark and a candid moment with friends, all within one frame. Seen together, those images give a much richer sense of the trip than any single photograph could manage on its own.
Collages have been popular for a very long time, long before digital editing became common. People once cut printed photographs and arranged them on boards, in scrapbooks and in frames. The idea has not changed, but the tools certainly have. Today, you can build a collage on a computer, a tablet or a phone, move pictures around with a few taps, try different backgrounds and borders, and undo a change instantly if it does not work. That freedom makes it much easier for a beginner to experiment and to end up with something that looks polished.
A good collage is more than a random pile of pictures. It has a purpose, a clear focal point and a sense of balance. The viewer should be able to understand what the collage is about at a glance, whether it is a birthday, a wedding, a season, a place or simply a collection of favourite moments. Once you know what story you want to tell, every other decision becomes easier, from which photographs to include to how much space each one should take up.
Choosing the Right Photos
The quality of a photo collage depends far more on photo selection than on fancy effects. Start by gathering far more photographs than you think you will need, then be willing to leave most of them out. A collage with a small number of strong, well-chosen images almost always looks better than a crowded design in which every photograph fights for attention. Look for pictures that are sharp, well lit and genuinely meaningful, and set aside any that are blurred, badly exposed or included only because you feel you ought to use them.
Variety matters just as much as quality. A set made up entirely of close-up portraits can feel repetitive, while a mix of wide shots, close-ups, details and candid moments creates rhythm and interest. A wide shot sets the scene, a close-up brings out emotion, and a detail shot, such as a cake, a flower or a street sign, adds character. Try to include different angles and distances, and think about how the colours in the photographs sit together. Pictures taken in similar light often blend more naturally than a mix of very bright and very dark images.
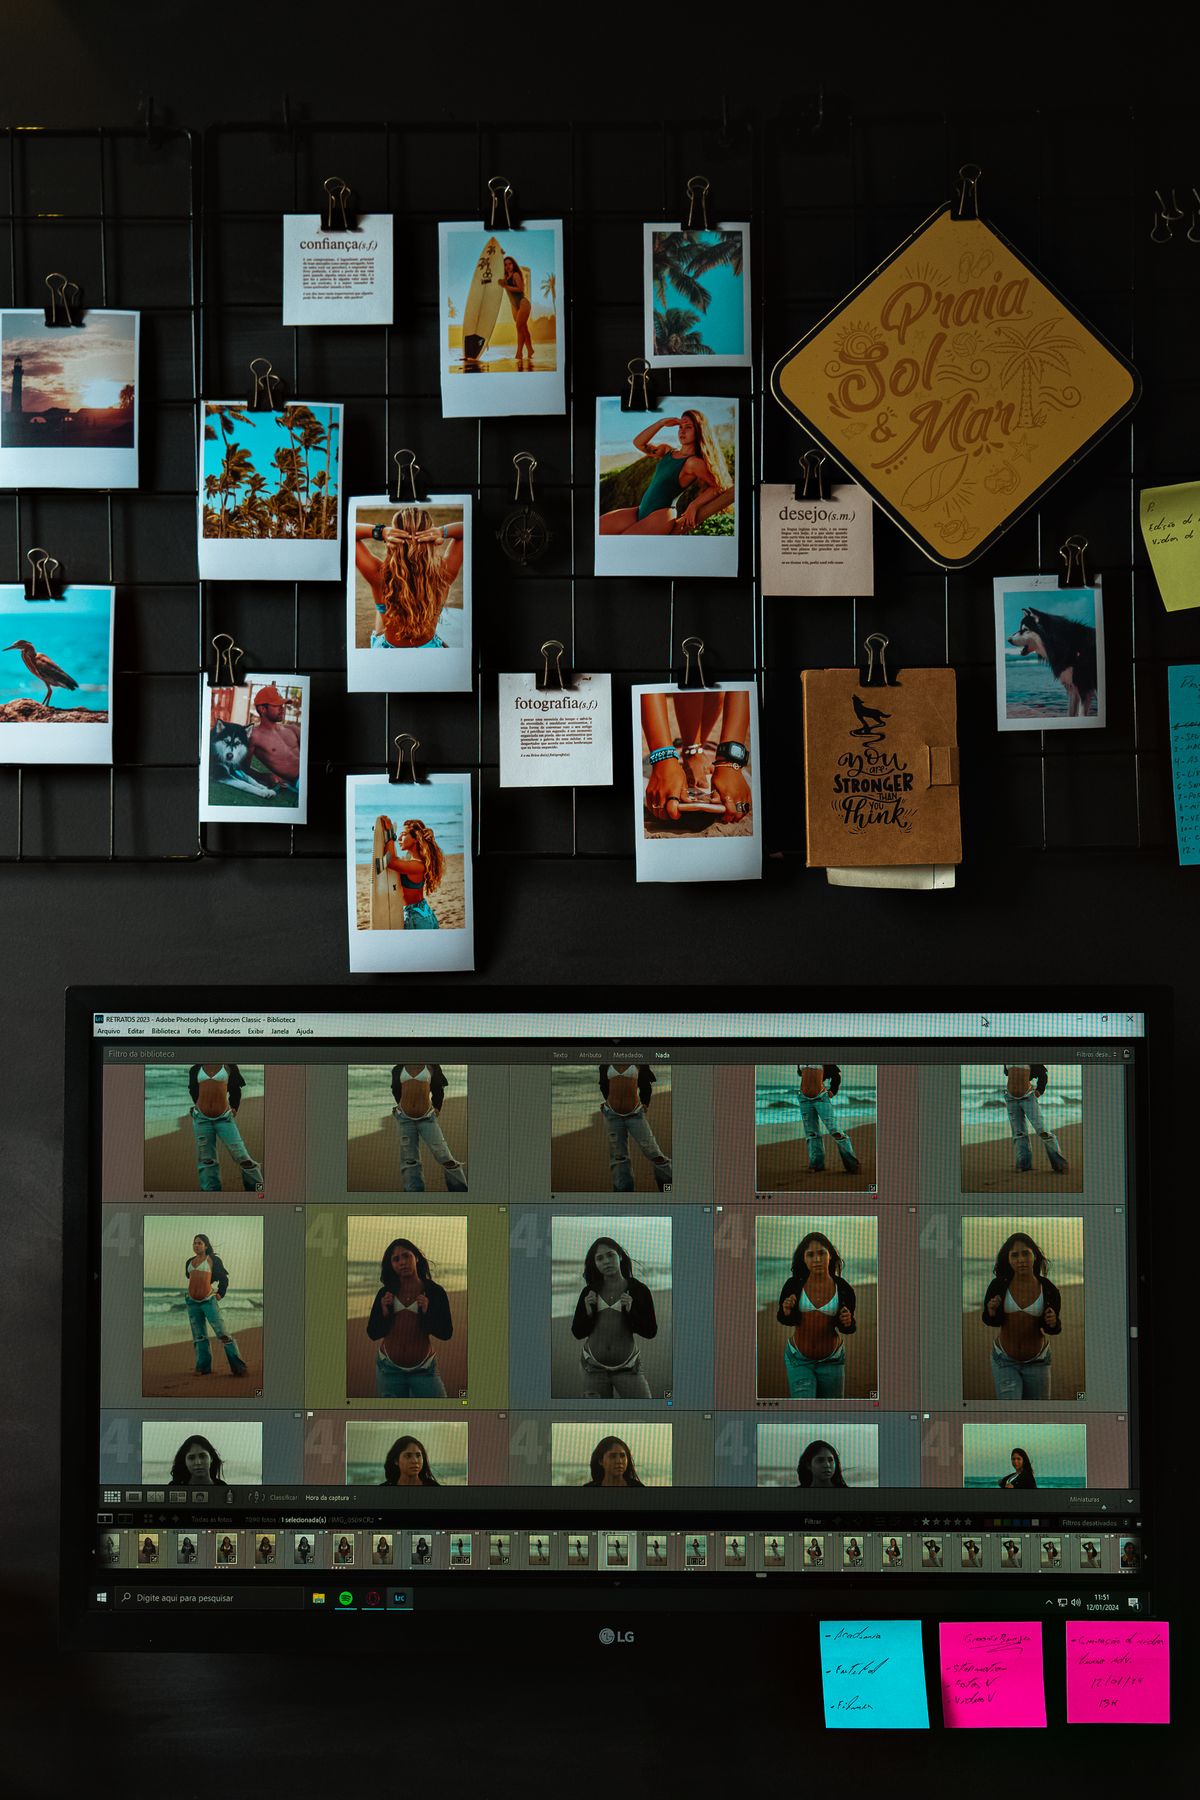
Photo Collage Layout Types
The layout is the skeleton of your collage. It decides how many photographs you can use, how large each one appears and where the eye travels first. There is no single best layout for every project, so it is worth understanding the main types before you start. The right choice will depend on your photographs, your purpose and the space where the finished collage will be seen.
Grid Layouts
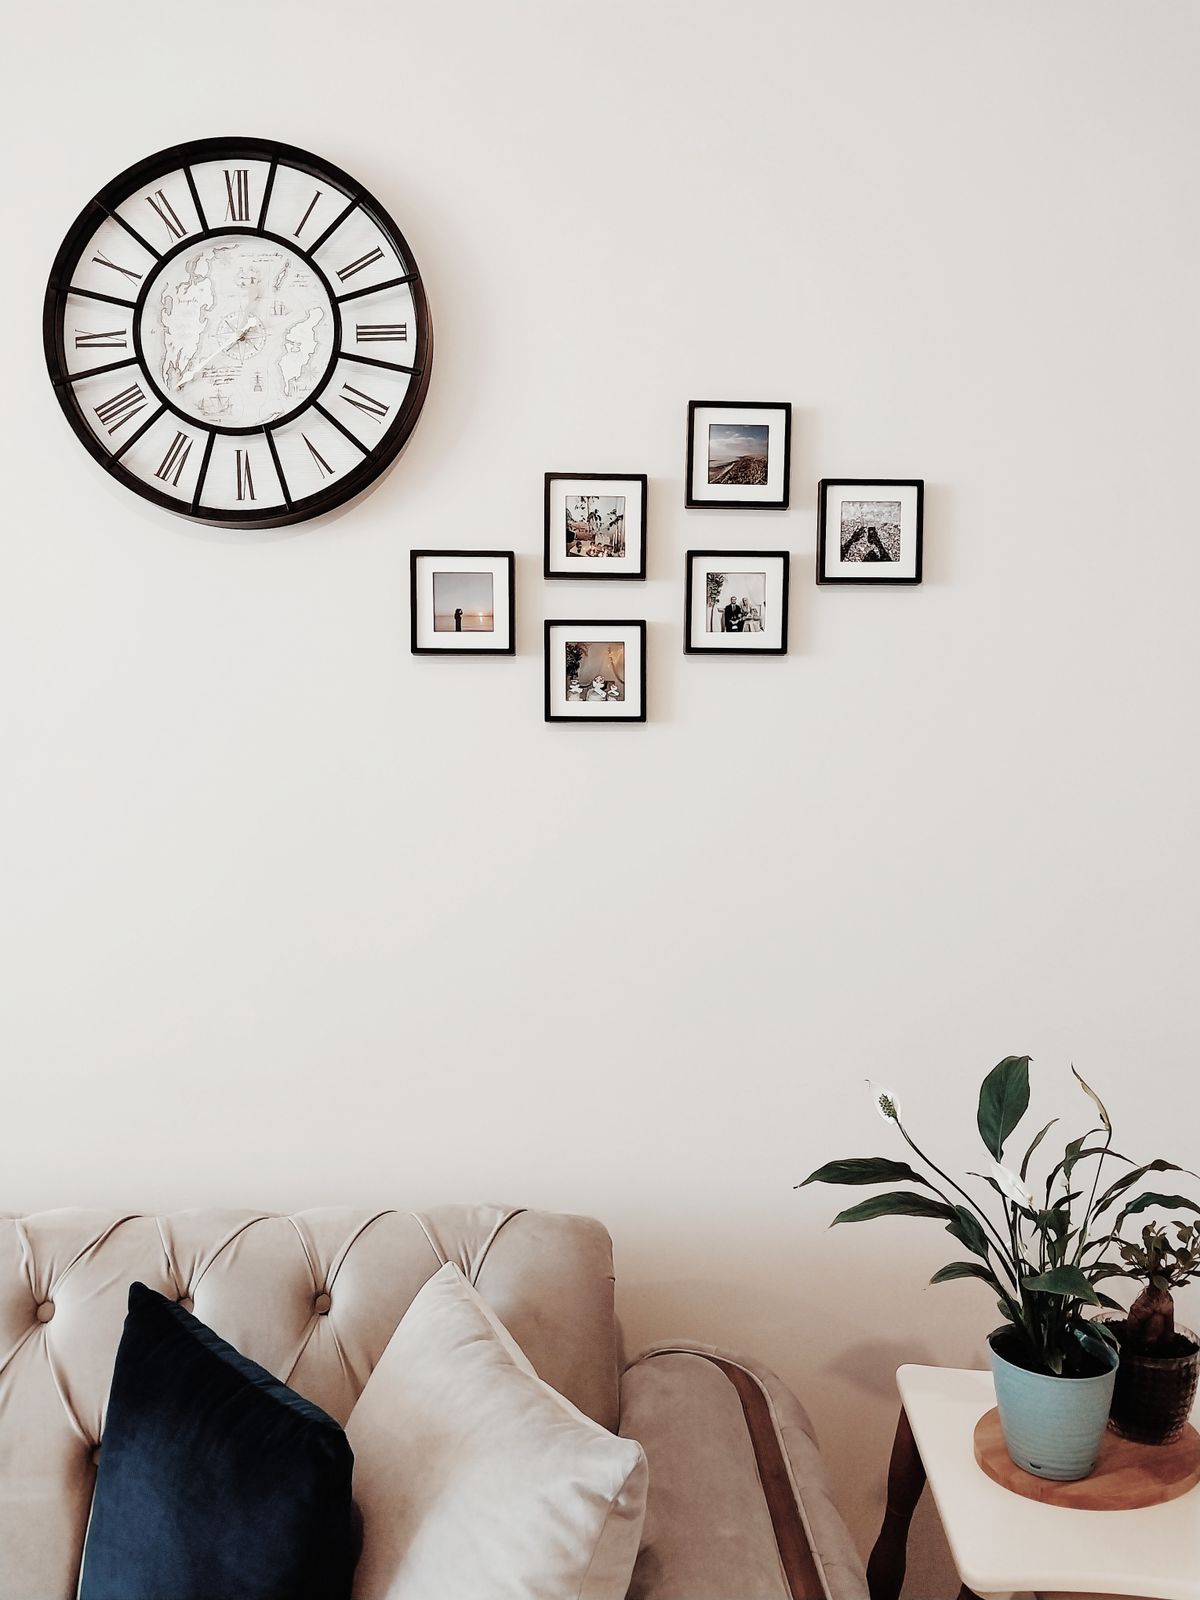
A grid layout arranges photographs in neat rows and columns, with even spacing between them. It is the easiest layout to get right, which makes it an excellent starting point for beginners. Grids suit collections of photographs that are similar in style, such as a series of portraits or a set of holiday snaps, because the regular structure keeps everything tidy and easy to follow. You can vary a grid by making one photograph larger than the rest, which creates a natural focal point without breaking the clean overall look. Keep the gaps between photographs consistent, and avoid mixing too many different shapes in one grid, or the neat effect can quickly disappear.
Freestyle Layouts
A freestyle layout is looser and more creative. Photographs can overlap, sit at slight angles and appear in different sizes, much like photographs scattered across a table. This style works well for informal, joyful subjects, such as a party, a family gathering or a creative project, where a playful feel suits the mood. Freestyle designs need a little more care than grids, because it is easy for the result to look messy rather than artistic. A useful trick is to anchor the design with one large photograph, then arrange smaller pictures around it, making sure that faces are not hidden behind overlaps and that the overall shape still feels balanced.
Themed Layouts
A themed layout is built around one idea, colour, place or occasion. Every photograph supports the same theme, and the background, borders and any text should reinforce it rather than compete with it. A seaside theme might use soft blue tones and wide, airy spacing, while a birthday theme might use brighter colours and bolder shapes. Themed collages are particularly effective as gifts, because the clear theme shows thought and intention. The danger is overdoing the decoration, so keep embellishments simple and let the photographs remain the stars of the design.
Timeline Layouts
A timeline layout tells a story in order, from left to right or from top to bottom. It is ideal for showing change over time, such as a child growing up, a house renovation, a journey or the stages of an event. Because the order matters, label the sequence clearly in your own mind before you start, and resist the temptation to swap photographs around for visual reasons alone if doing so would break the story. Timeline collages often work best with a simple, consistent layout, so that the progression itself, rather than the decoration, holds the viewer’s attention.
Tools and Apps for Making a Collage
You do not need specialist skills to make a photo collage, and you do not need to buy expensive software to get a good result. Most collage tools fall into three broad groups: browser-based tools, mobile apps and desktop programs. Browser tools run in a web browser and are convenient because there is nothing to install, and your work is often saved online. Mobile apps are ideal for quick collages made from photographs already on your phone, and they are well suited to sharing straight to social media. Desktop programs tend to offer finer control over size, resolution and print settings, which matters more if you plan to print a large collage.
Many tools offer a free tier alongside paid plans. Free tiers usually cover the essentials, such as grid layouts, basic borders, simple backgrounds and standard export sizes, which is more than enough for most beginners. Paid plans typically unlock a wider choice of templates, higher resolution exports, extra fonts and decorative elements, and the removal of watermarks. Before paying for anything, try the free version properly and check whether it already does everything you need. A paid plan is only worth it if you regularly make collages, need print-quality output or want a particular feature that the free version does not include.
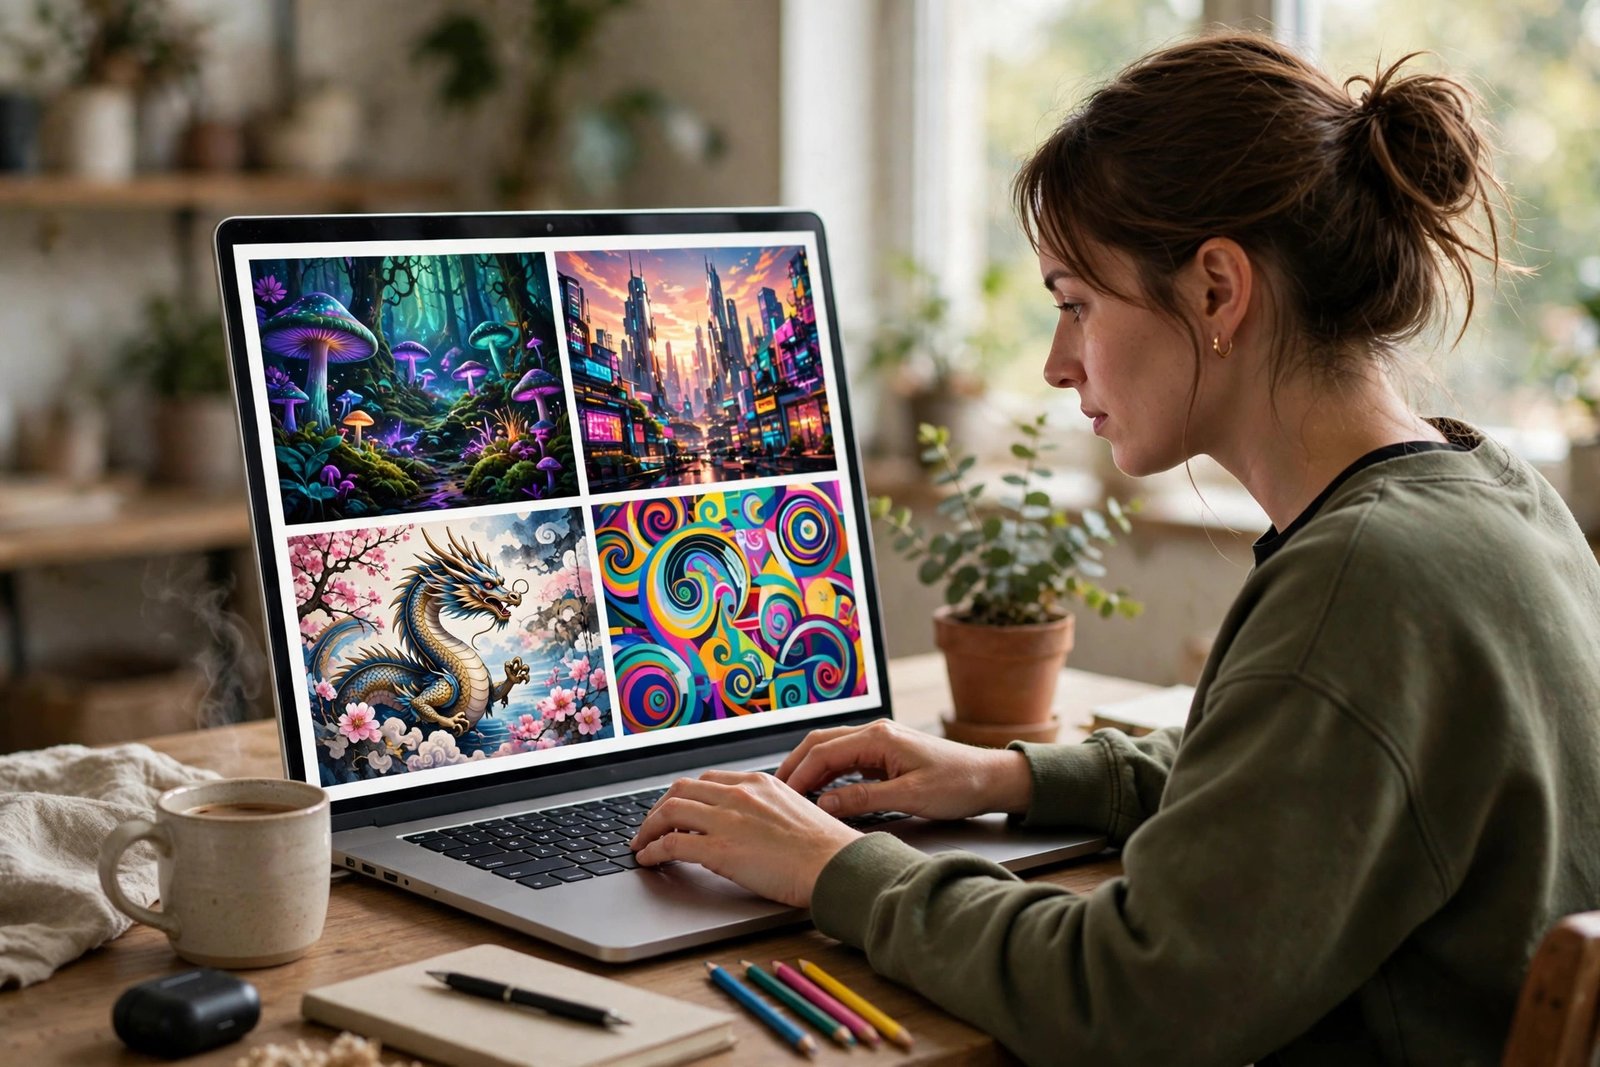
When comparing tools, look beyond the number of templates on offer. Check that you can crop and rotate photographs easily, adjust spacing and borders, add text that remains readable, and export your finished collage at a size that suits your purpose. It is also worth checking whether the tool adds a watermark to free exports, and whether your photographs are stored online or only on your own device. If privacy matters to you, especially for family photographs, a tool that keeps your work on your device may be the better choice. You can also mix generated artwork into a design if you want a decorative background or a filler image, and guides to AI image tools can help you understand what such tools can and cannot do before you rely on them for collage elements.

A Simple Step-by-Step Method
A clear process takes the guesswork out of making a collage and helps you avoid the common trap of adding photographs until the design becomes cluttered. Start by deciding the purpose of the collage and where it will be seen, since a design for a phone screen and a design for a framed wall print have very different requirements. Then choose your theme or story, gather your photographs, and select a smaller shortlist of your strongest images. Only at that point should you open your chosen tool and pick a layout.
- Decide the purpose, audience and final format before choosing photographs.
- Shortlist your strongest images and remove duplicates, blurred shots and near-identical pictures.
- Pick a layout that suits the story, then place your largest or most important photograph first.
- Add the remaining photographs one at a time, checking balance and spacing as you go.
- Adjust crops so faces and key details are not cut off at the edges.
- Add text sparingly, only if it adds meaning, such as a date, a place or a short title.
- Step away for a short break, then review the collage with fresh eyes before exporting it.
Print Versus Digital Use
How you plan to use a collage should shape how you build it. A digital collage is made to be viewed on a screen, shared online or sent by message, so you can be more flexible with shape and size. A tall collage suits a phone screen, a wide collage suits a computer wallpaper or a presentation slide, and a square collage tends to display well on social feeds. Digital collages are easy to update, easy to share with people far away and easy to duplicate in different sizes, which makes them a good choice for birthdays, announcements and everyday sharing.
A printed collage, by contrast, becomes a physical object, and that permanence calls for a little more care. Wall prints, framed gifts and photo books all reward higher resolution, simpler layouts and colours that will still look good in real light rather than only on a bright screen. Before printing, check the physical size you want and make sure your design matches it, so that nothing important is cropped by the printer. It is also wise to order a small test print first if you are planning a large or expensive print, because colours and sharpness can look different on paper than they do on screen.
Resolution and Quality Tips
Resolution is simply a measure of how much detail an image contains, and it matters most when a collage will be printed. A photograph that looks perfectly sharp on a phone screen may look soft or pixelated when enlarged to fill a wall frame, because printing stretches the same detail over a much larger area. As a general rule, use the highest quality original photographs you have, rather than copies that have already been compressed by messaging apps or social media. Each time a photograph is compressed and re-saved, it loses a little detail, and that loss becomes more visible in a large print.
Avoid enlarging a small photograph far beyond its original size, and be cautious with heavy filters or effects that blur detail. Cropping is useful, but cropping tightly into a small area of a photograph has a similar effect to enlarging it, so crop with a light touch where possible. When exporting your finished collage, choose the highest quality setting your tool offers, especially for print, and save a master copy before creating smaller versions for sharing online. That way, you always have a high-quality version to return to, even if you later need a different size or format.
Common Mistakes to Avoid
The most common mistake is including too many photographs. It is tempting to use every good picture from an event, but a crowded collage leaves no room for any single image to breathe, and the viewer ends up skimming rather than really looking. A smaller, well-chosen set will almost always have more impact. A related mistake is using photographs that are too similar to one another. Several near-identical shots of the same pose add bulk without adding story, so pick the best one and let it stand on its own.
Another frequent problem is poor cropping. Faces cut off at the edge of a frame, heads squeezed against a border and important details hidden behind overlapping photographs all distract from the design. Take time to adjust each crop, and leave a little breathing space around faces and key subjects. Uneven spacing is a subtler issue, but it can make an otherwise good collage feel untidy. Consistent gaps between photographs, aligned edges where the layout calls for them, and a balanced distribution of light and dark images all contribute to a calmer, more professional result.
Putting It All Together
Making a photo collage is, at its heart, a simple and enjoyable creative task. Choose a clear story, pick a small set of strong photographs, select a layout that suits them, and review the result before you share or print it. You do not need advanced skills or costly software to produce something you will be proud of, and each collage you make will teach you more about balance, spacing and selection.